Eddy's nose job: Quoted $5000, did it ourselves for $500.
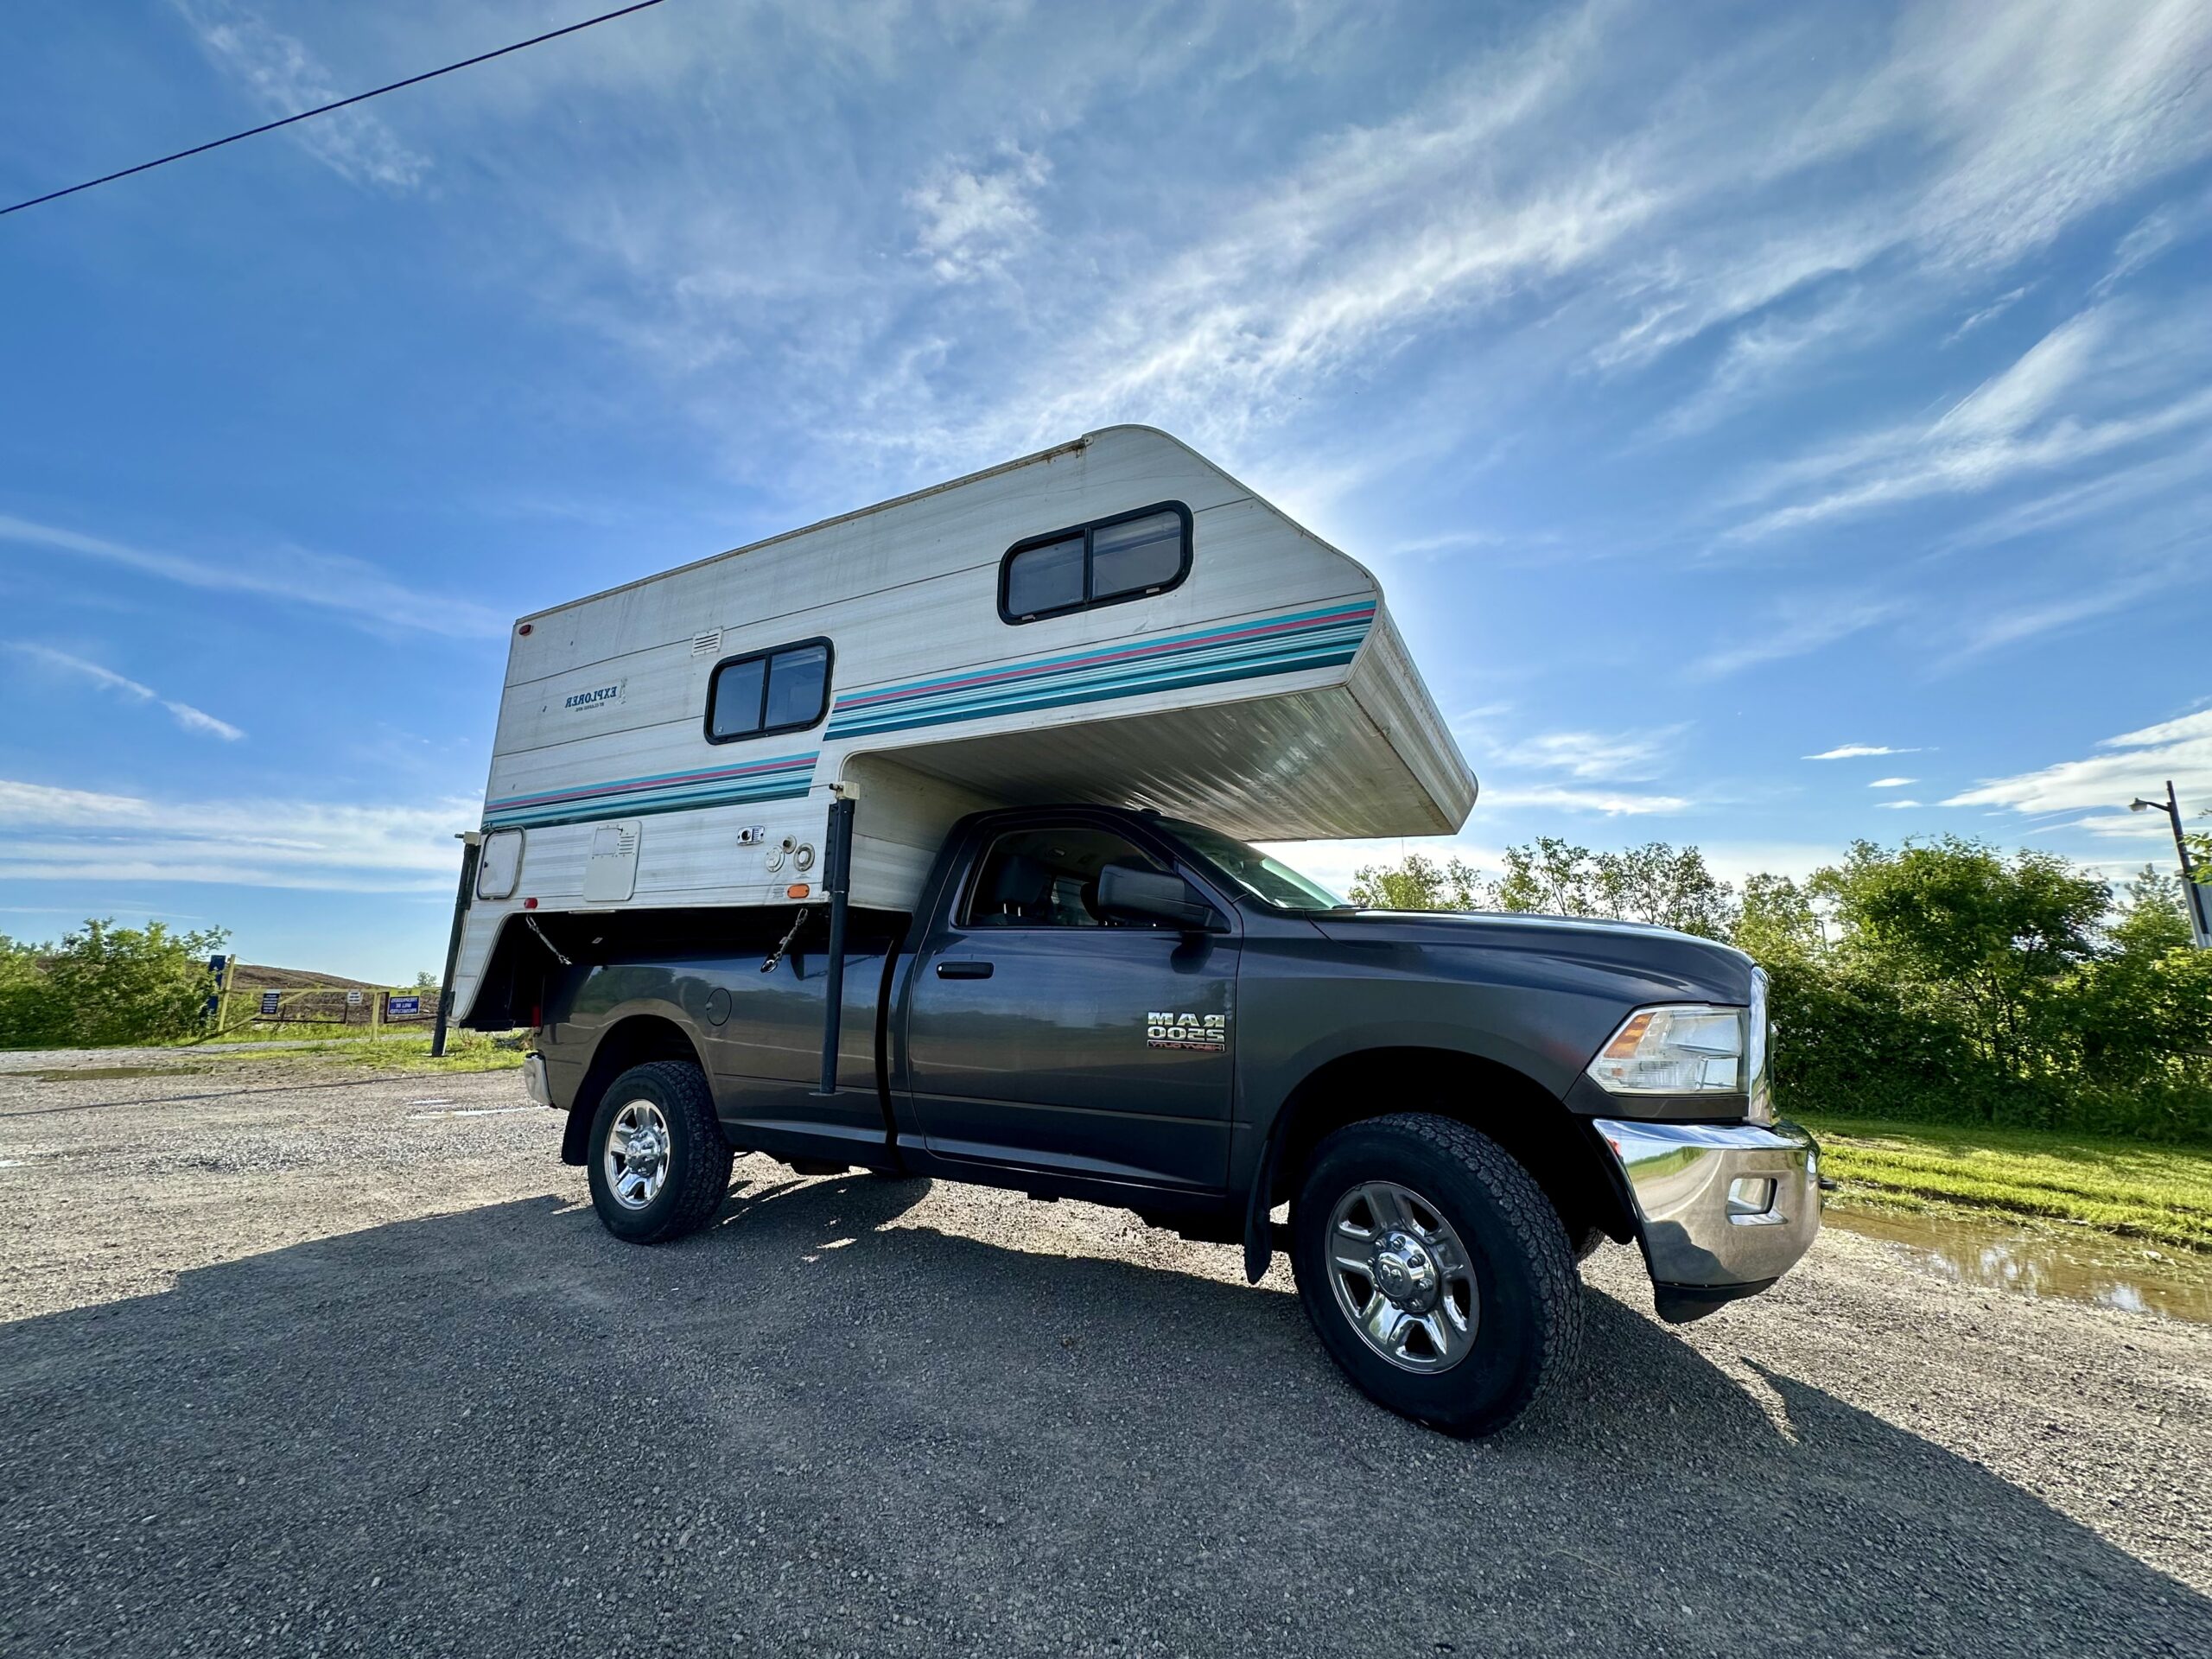
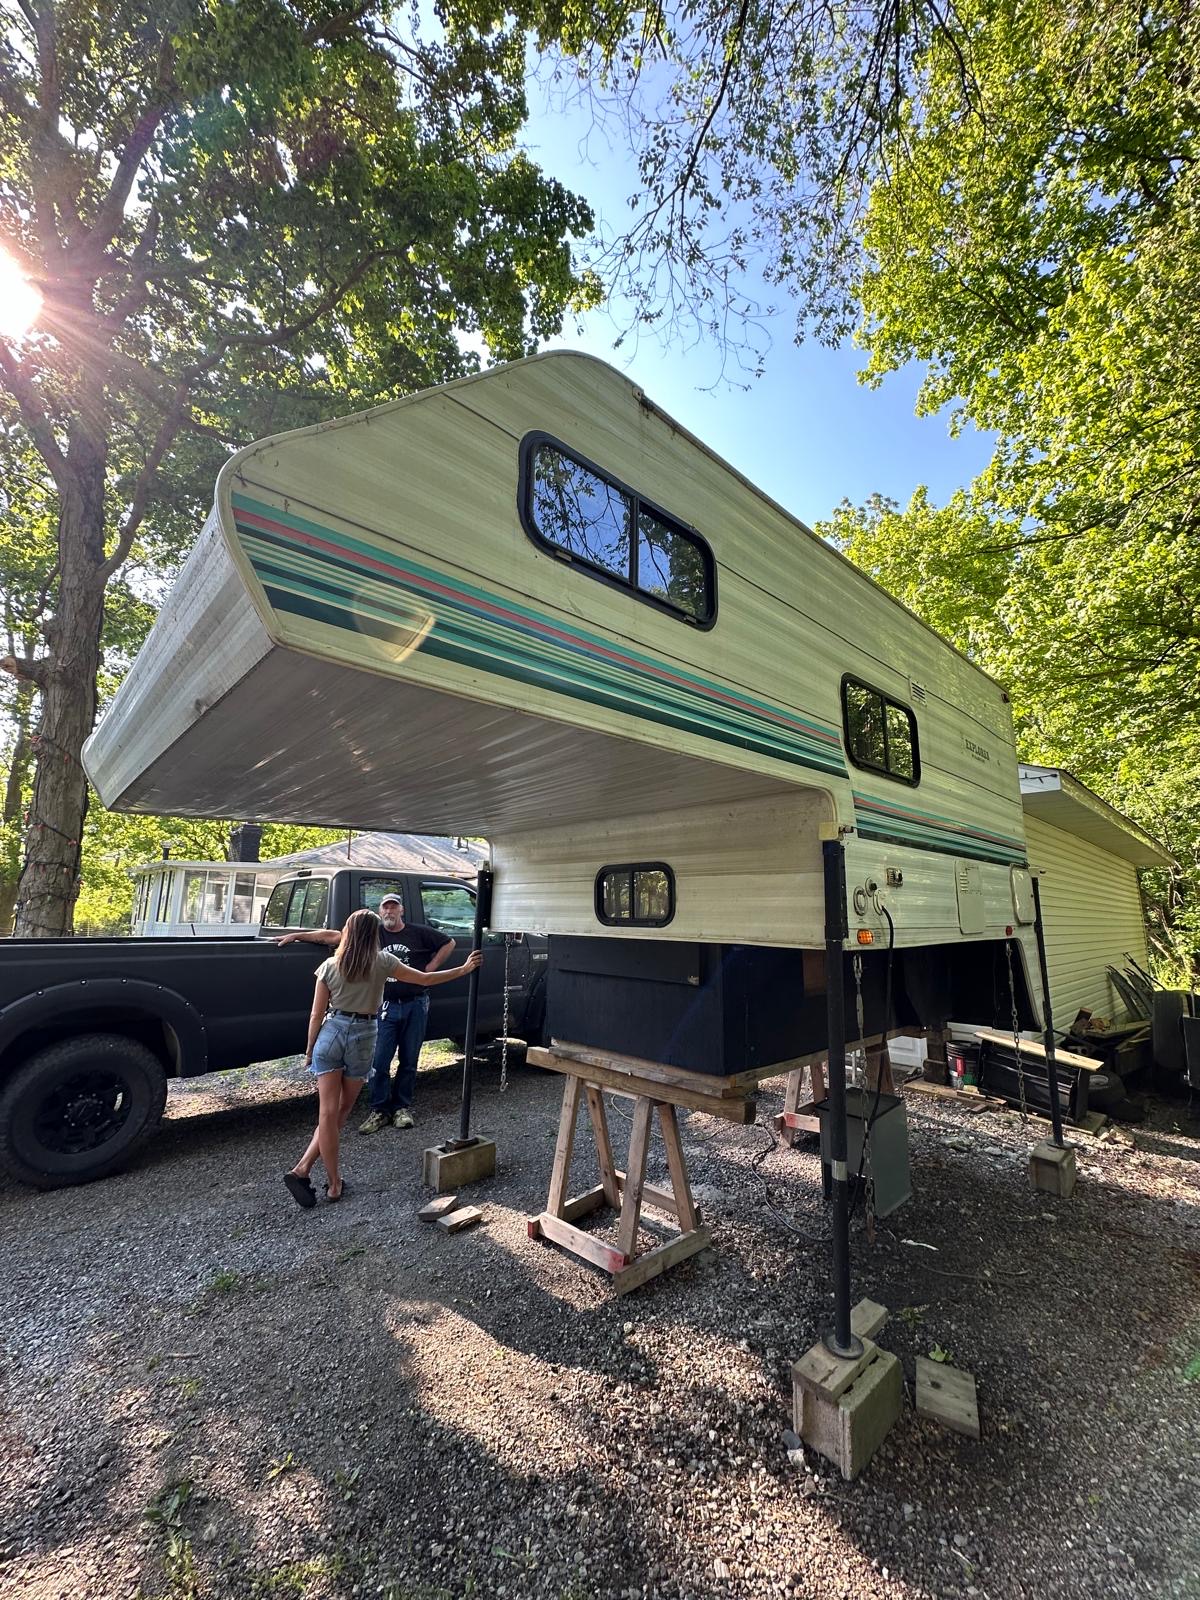
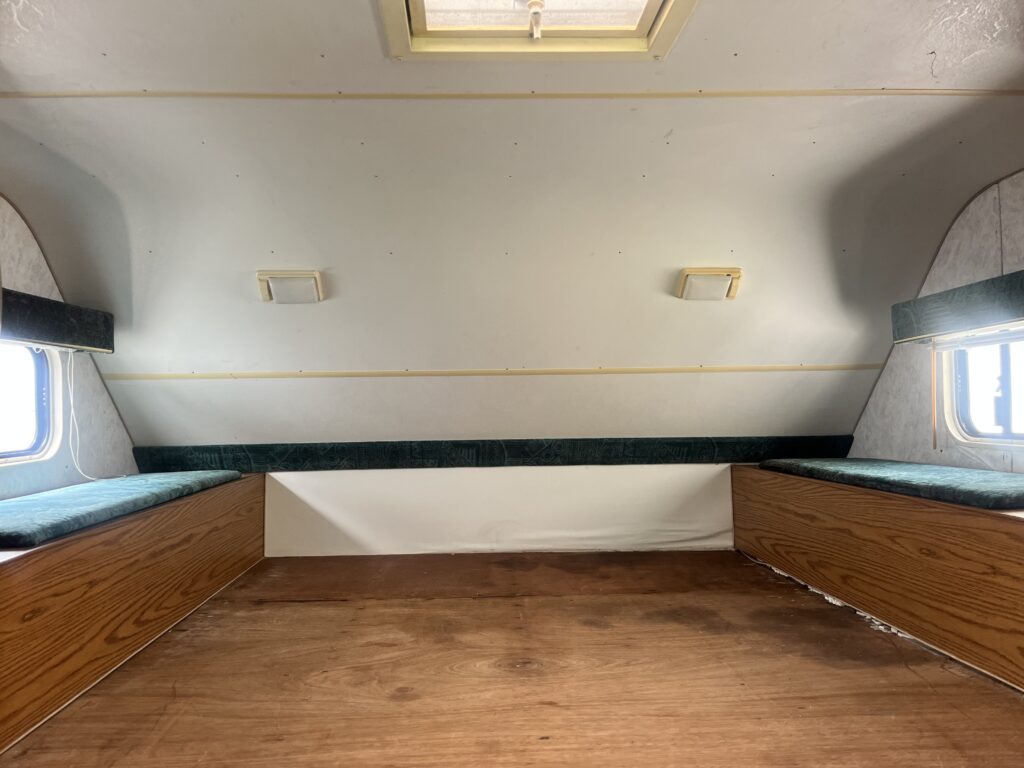
We bought Eddie and Rosita our truck camper and Truck in Ontario and drove them through the Great Lakes to Winnipeg. Rosita, our truck is a tank, but Eddie our camper, has some years on him. The man who we bought it from told us he just repaired the roof, re-caulked everything, no leaks, no animals, everything was solid. He used it for ice fishing or hunting expeditions. He also made a point to make sure we knew the bed was stable and able to support him super well as a bigger man. I had made a checklist on my phone that I compiled from the last year of watching YouTube videos that would help me find anything people were trying to hide. I checked underneath, tried the lights, propane, checked that there wasn’t any animal poop around or damage caused by rodents. Despite my bulletproof checklist, the excitement of finding a truck camper that works overcame my inhibitions. I hopped up on the queen size bed, which I knew I would want to replace anyways, struggled to lift the bed to look underneath as the guys watched, thinking this guy will say something if the wood underneath us was bad.
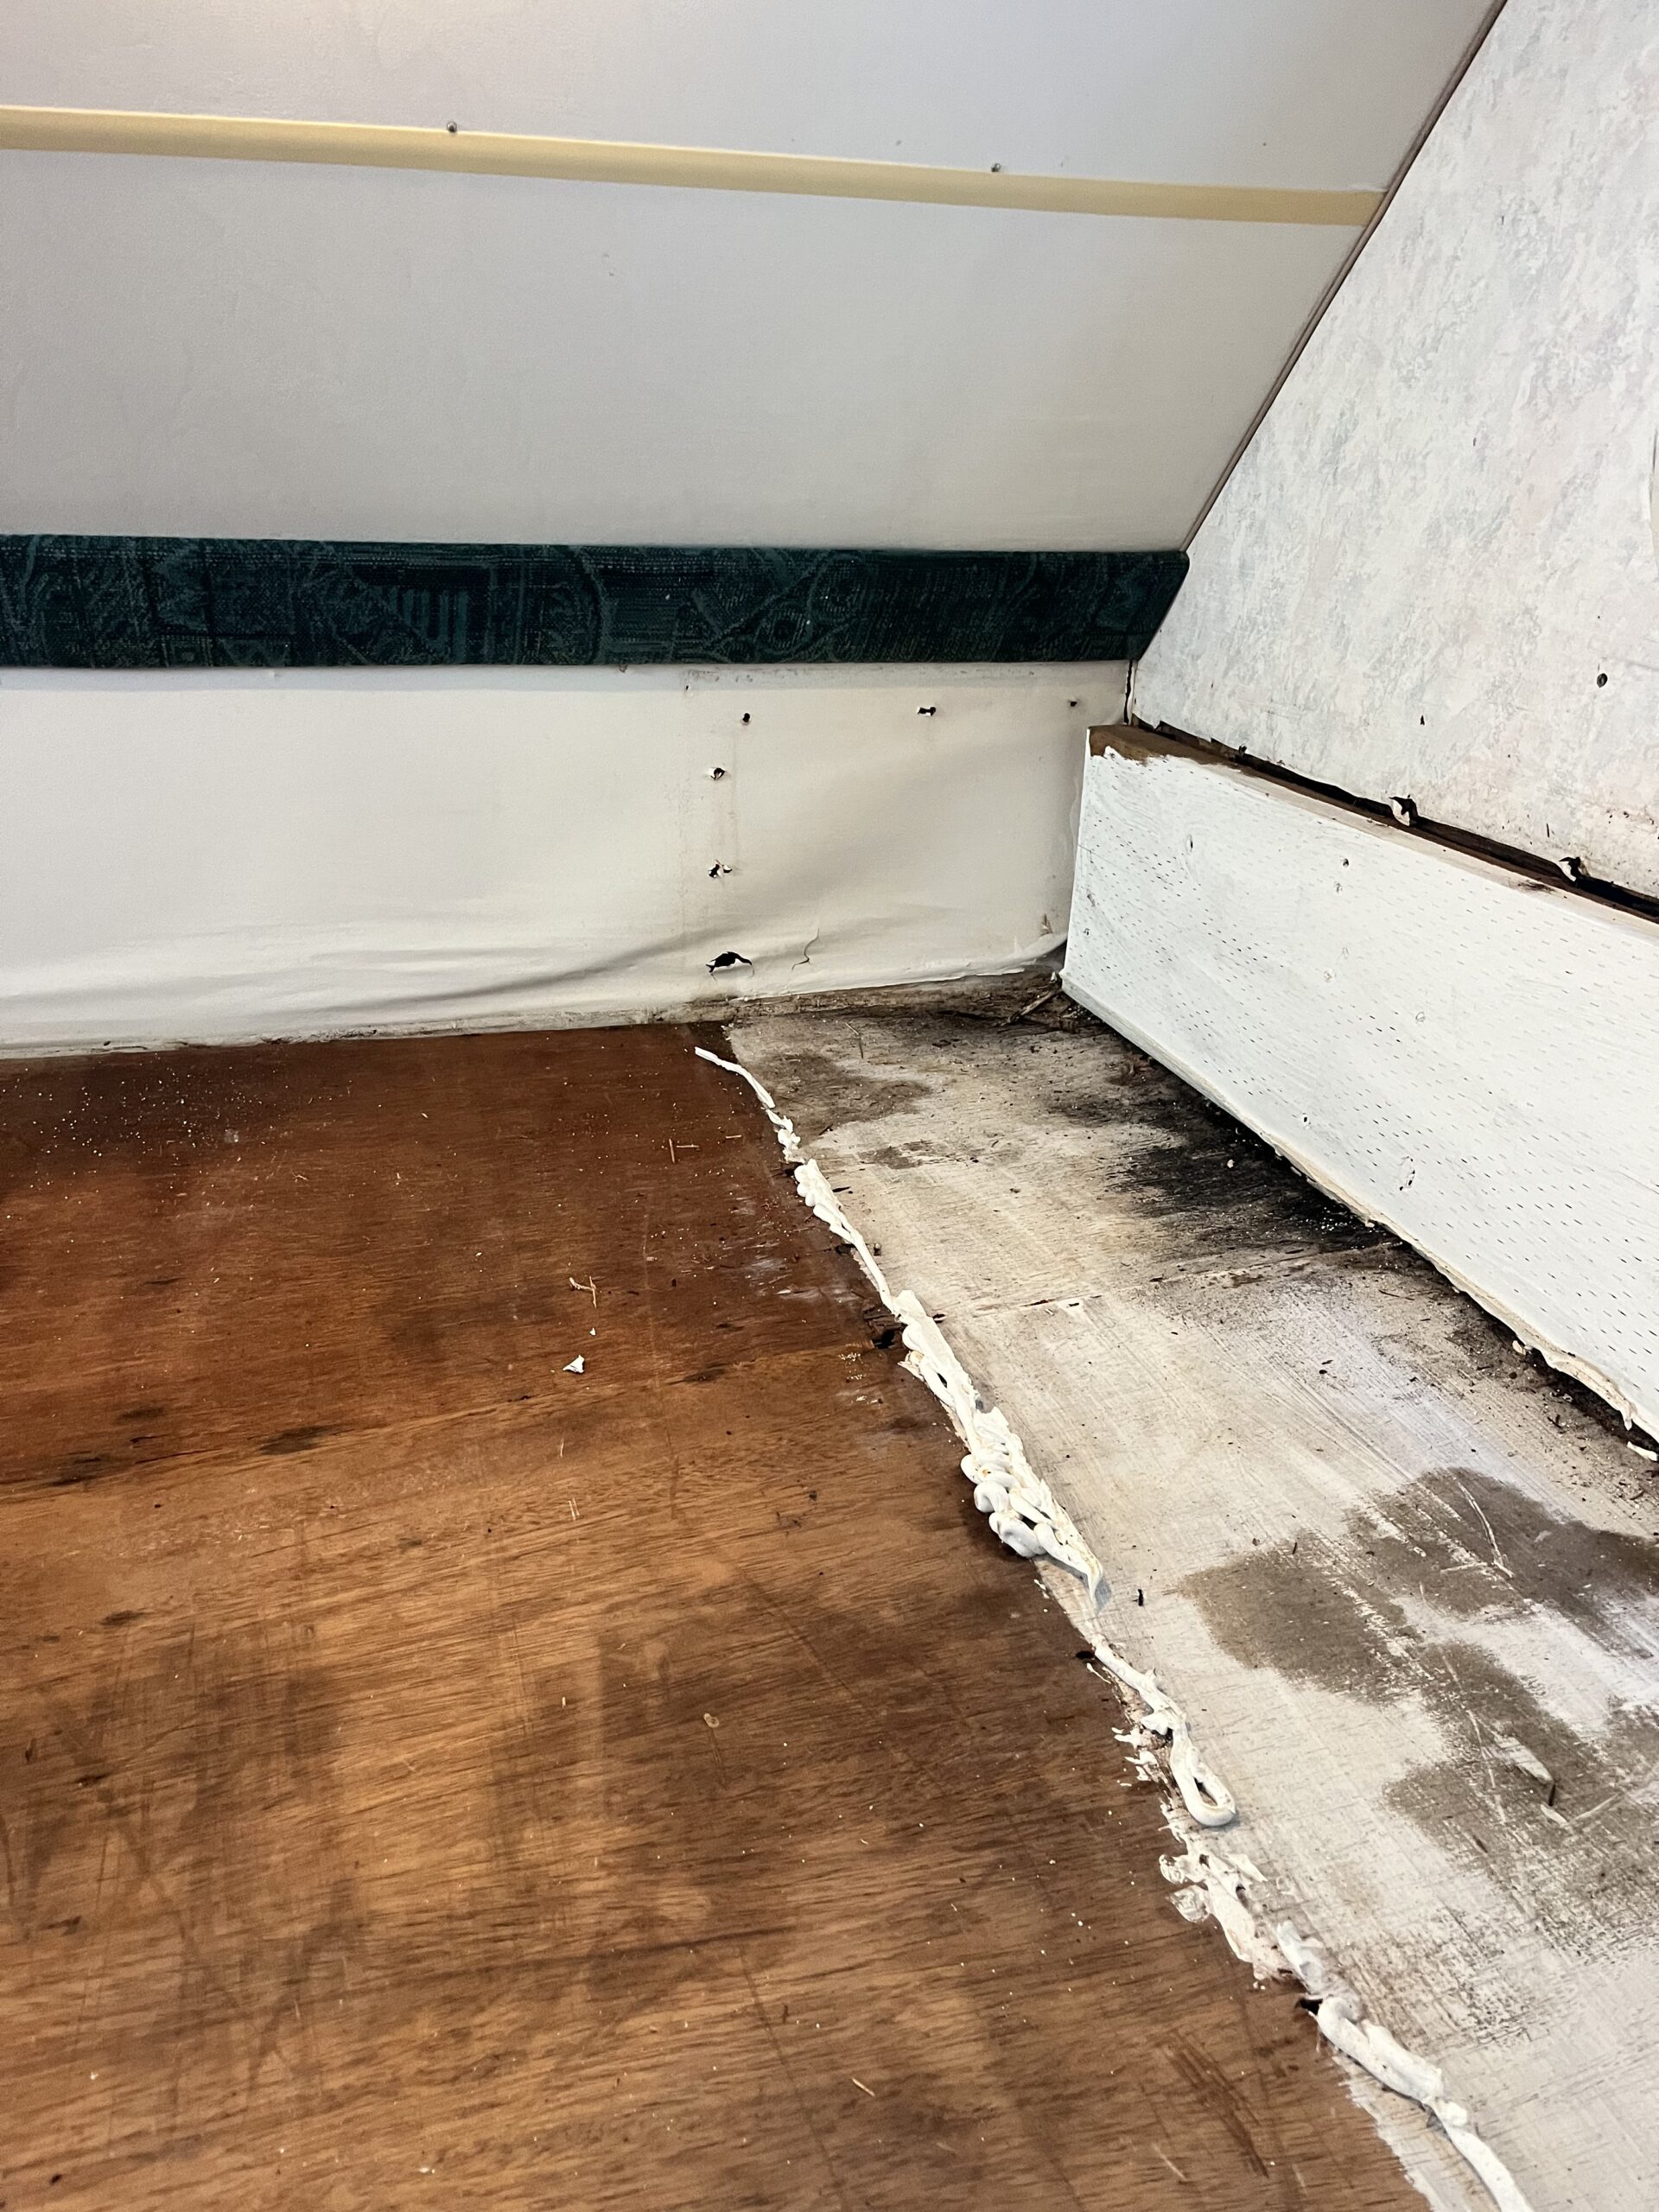
I was wrong. It was all moldy. Black mold. Clearly I didn’t know this until a few days later when our new bed came in from amazon and I found the new sheet of plywood that was placed over the rotten wood underneath the bed.
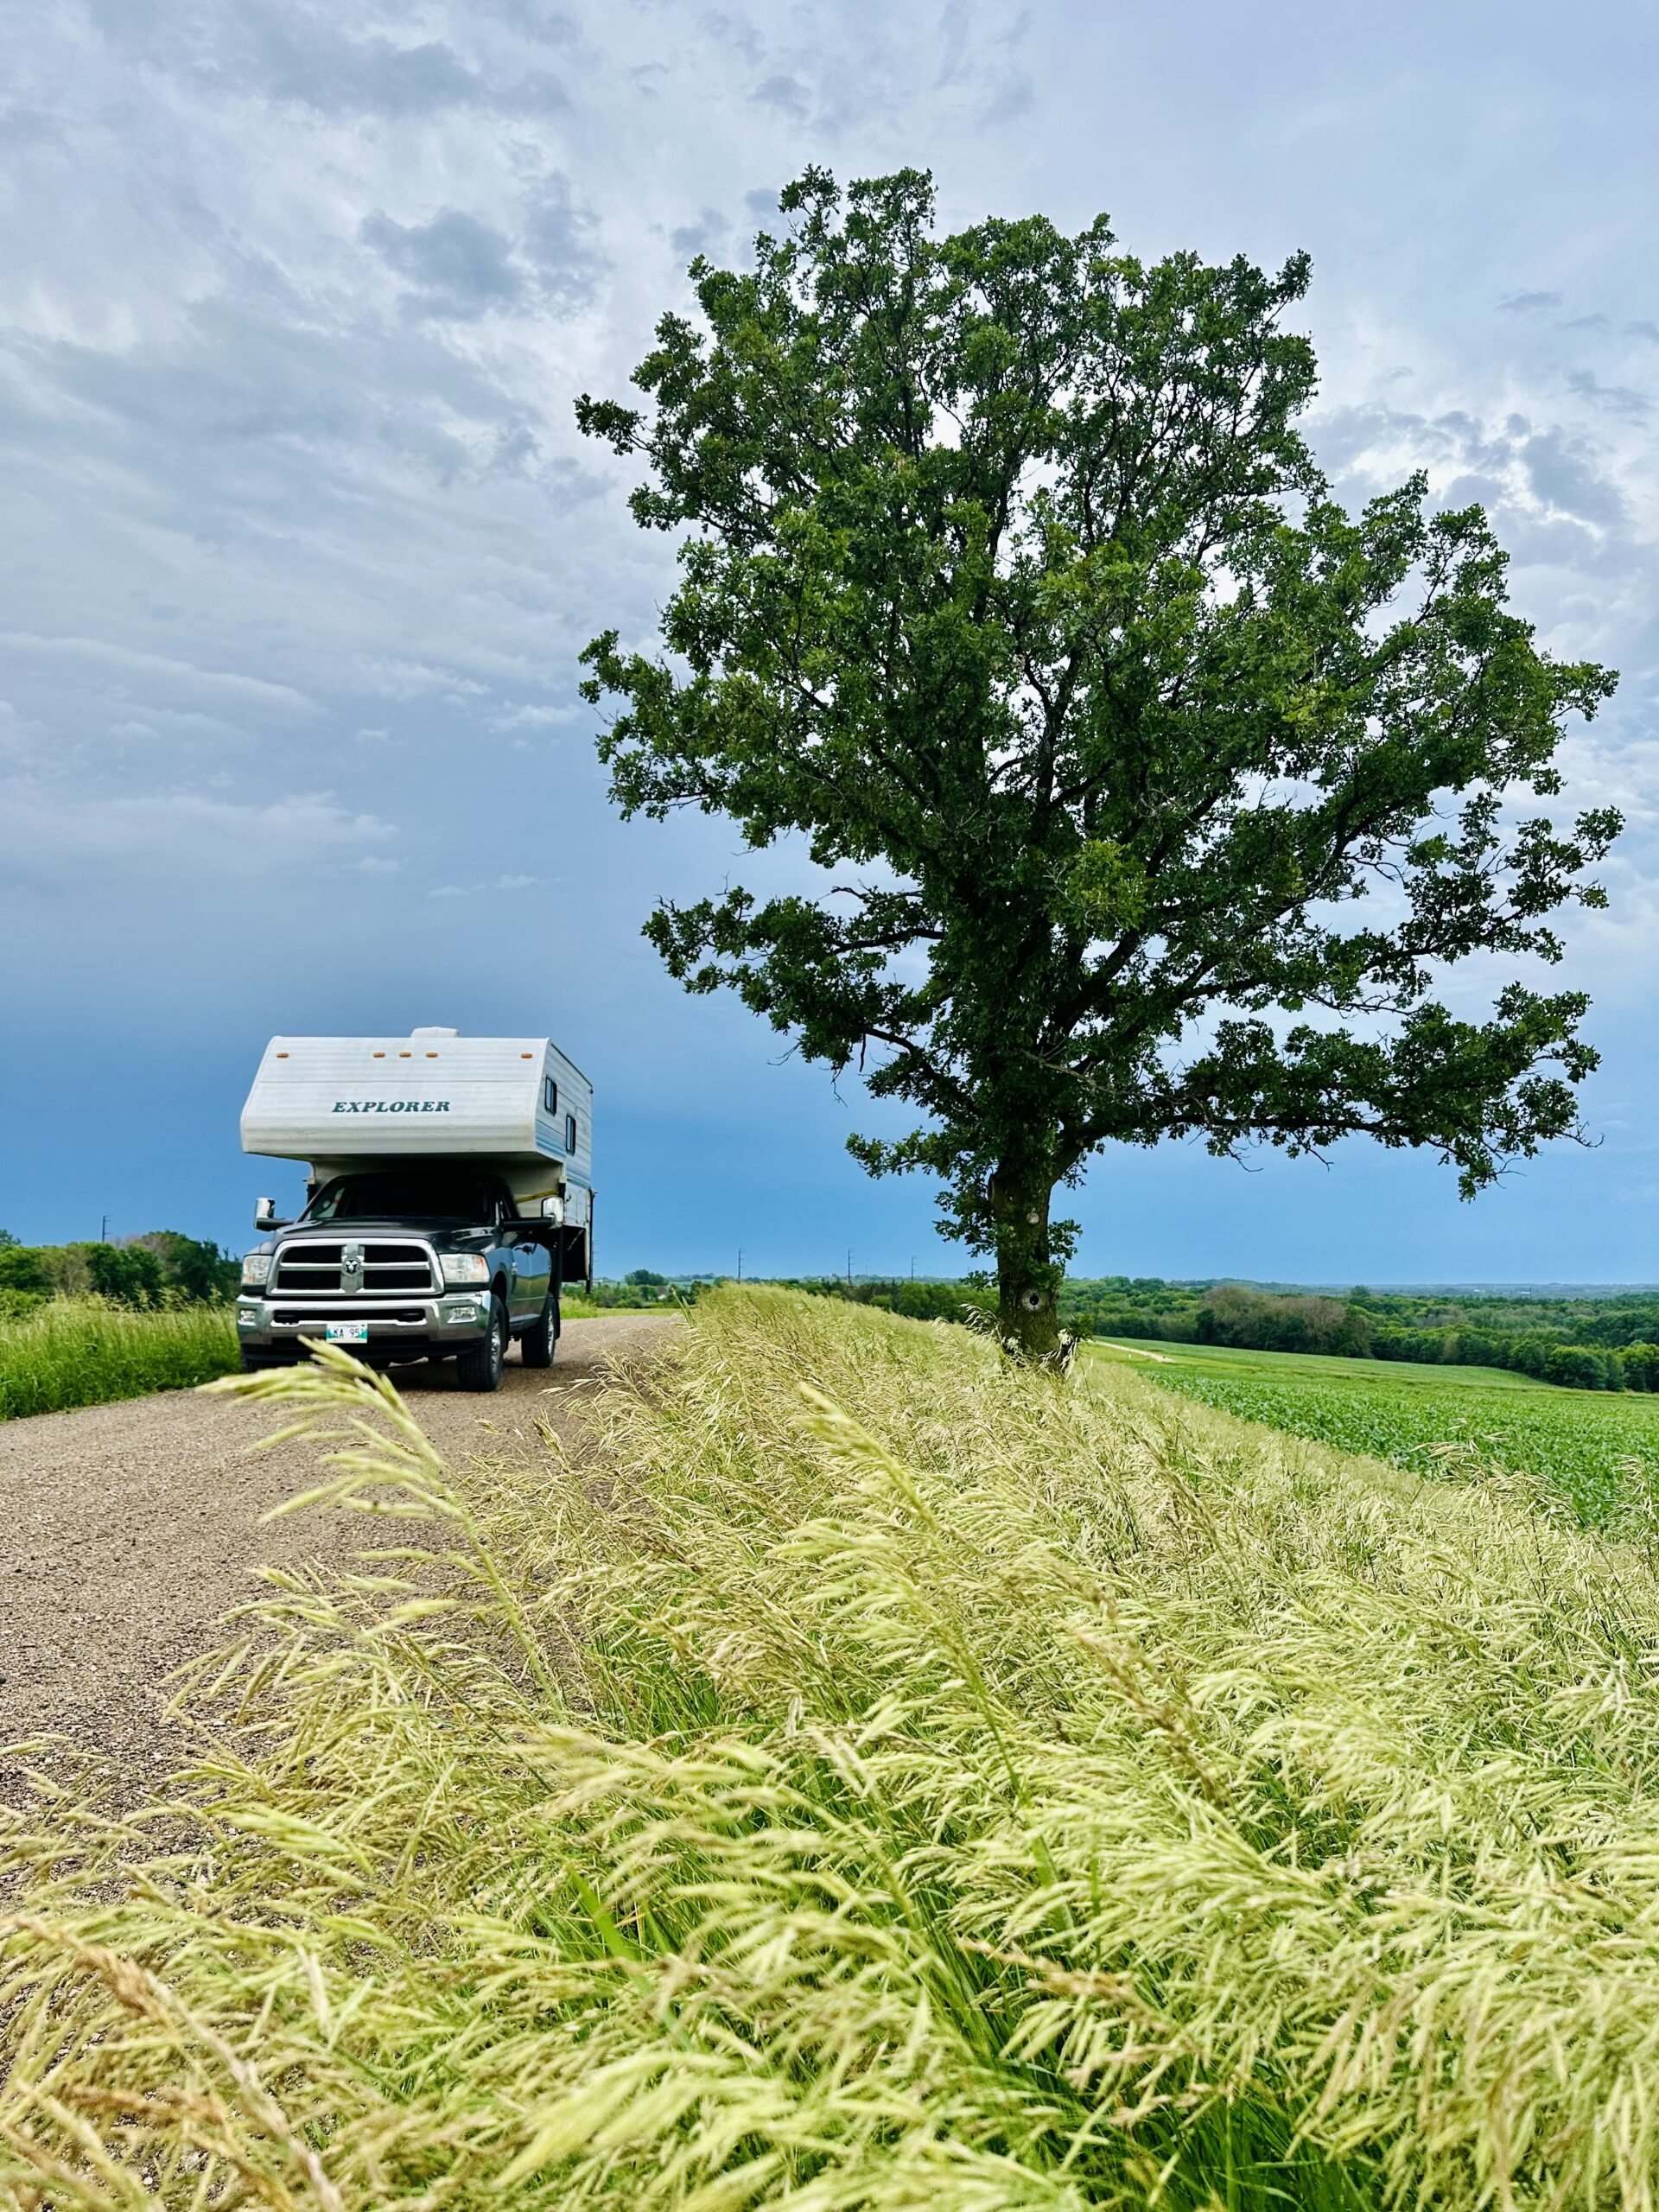
After a beautiful road trip from Toronto to Winnipeg, filled with the Great Lakes, delicious food, swarms of mosquitos, and incredible sunsets, we finally arrived in Winnipeg. Not only had we made the journey with our new camper (now officially our home), but also with our “new-to-us” truck.
The plan? To spend time with family, relax on beaches, and enjoy barbecues while soaking up Manitoba’s beauty.
The reality? A little different.
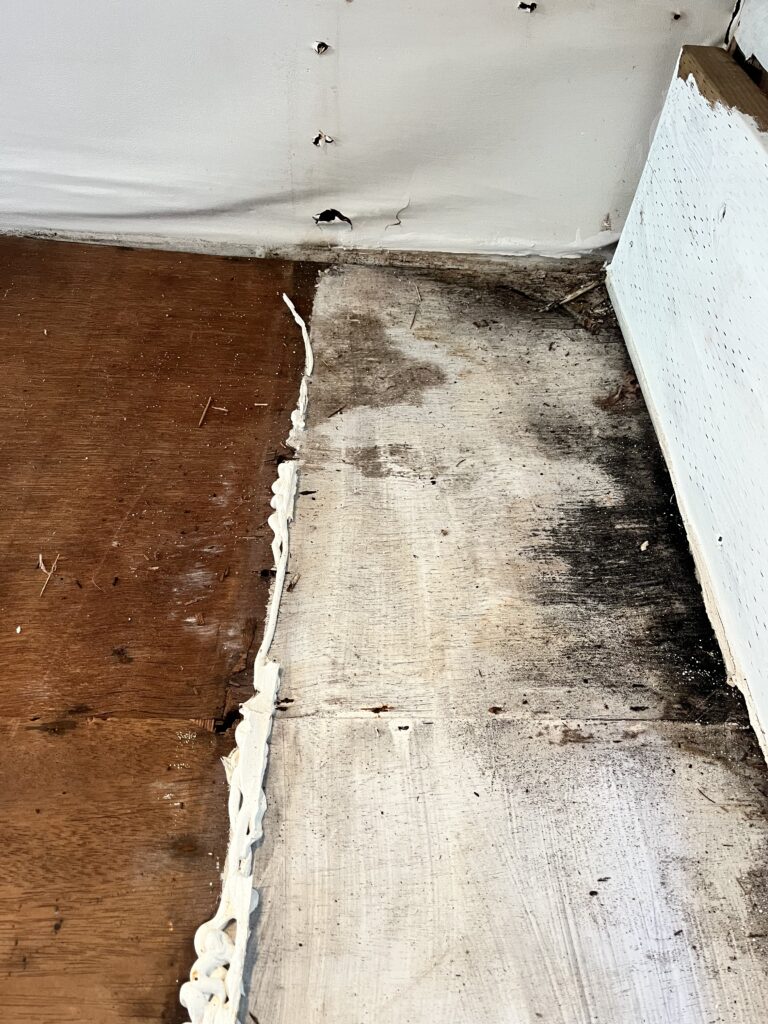
When our new bed arrived from Amazon, we removed the old one and discovered that the previous owner had simply laid fresh plywood over a moldy base. My heart sank. Then we opened the closet and saw black mold in our camper creeping up the walls. Just like that, the high we were riding was over.
For days, we asked around: What should we do? This RV was supposed to be our home for the next year and a half, and there was no way we could sleep next to toxic mold.
We asked around what we should do.
•Some people said sell it. Not an option—I couldn’t pass mold on to someone else.
•Others suggested hiring a professional. Quote: $5,000. Not in budget.
•My dad, a contractor, told us to cut our losses.
So, naturally, we said: let’s try it ourselves.
⸻
Step 1: Gear Up
Protect yourself from mold. Here’s what we used:
•Work gloves
•Safety glasses
•Old clothes
•Closed-toe shoes
•Face mask
⸻
Step 2: Demo the Closets
We cleared the area to pull up flooring and see the damage.
Tip: Label everything. All doors, tracks, and screws look the same later.
Supplies:
•Garbage bags
•Screwdriver
•Pry bar or scraper
⸻
Step 3: Inspect the Exterior
•Clean the metal with mineral spirits.
•Unscrew bolts and carefully remove siding.
•We found mold across the bottom and into side beams.
•Replaced a rotten support beam with treated lumber.
We also:
•Removed insulation (saved what was usable).
•Tossed damaged wood, scrubbed light mold patches with vinegar.
•Sistered new wood to good old beams.
•Labeled roof tracking carefully and replaced sealant.
⸻
Step 4: Shop for Materials
From Home Depot:
•3 plywood sheets
•2 rolls R12 insulation
•Wood screws
•8 × 2x2s
•2 treated 2x4s
•Caulking
•RV roof sealant and tape
From Amazon / RV store:
•RV roof tape
⸻
Step 5: Demo and Prep
Cut away all moldy wood with a jigsaw until only healthy structure remained. Treated small patches with vinegar and let it dry completely.
⸻
Step 6: Rebuild the Frame
•Installed new 2x2s, reinforced with old beams.
•Replaced rotten supports with treated 2x4s.
•Put insulation back in place.
⸻
Step 7: Replace Flooring and Walls
•Laid new plywood, secured with screws.
•Caulked all screw holes.
•Reinstalled siding carefully.
⸻
Step 8: Seal the RV
•RV roof tape on seams.
•RV roof sealant around edges.
•Fresh caulking.
⸻
Step 9: Reassemble
Put closets and cabinetry back. Because we labeled, reassembly went smoothly. Focused on durability first—paint and trim can come later.
⸻
What We Learned
•Invest in the right materials: treated wood, strong sealant.
•Label everything during demo.
•Moisture is the enemy: dry thoroughly and seal carefully.
We almost gave up on this camper, but now it’s a safe, strong home on wheels—ready for adventures ahead.